 how-to
How Long to Spend at Neist Point Lighthouse for Photography
Table of Contents
- How Long to Spend at Neist Point Lighthouse for Photography: A Realistic Breakdown
- Walking Time to Neist Point Lighthouse and What the Terrain Demands
- Best Time of Day for Neist Point Photography
- Neist Point Lighthouse Photography Tips: Gear, Composition and Camera Settings
- Parking, Safety and Weather: What to Sort Before You Go
- Post-Processing and Editing for Coastal Light
- Frequently Asked Questions
Last Updated: September 23, 2026
How Long to Spend at Neist Point Lighthouse for Photography: A Realistic Breakdown
Most photographers who ask how long to spend at Neist Point lighthouse for photography get a vague answer: "a couple of hours." That is not useful. The truth is that Neist Point rewards patience, and the right window sits between 2.5 and 4 hours on site. This guide is built on what we see guests actually do, and where their plans fall apart.
Total Time on Site: 2.5 to 4 Hours
Two and a half hours is the bare minimum for a rushed visit. Four hours lets you catch both golden hour and blue hour without sprinting. The difference comes down to how far you walk and how long you wait for light. Most photographers underestimate the walk in and the climb back out.
Splitting Your Time: Walk, Cliff Edge, Lighthouse, Return
A sensible split looks like this:
- Walk to the viewpoint: 45-60 minutes
- Cliff-edge shooting: 45-60 minutes
- Lighthouse and lower rocks: 30-45 minutes
- Return walk: 45-60 minutes
That adds up fast. Add buffer for wind, photo stops and the steep climb back. If you only have two hours, skip the lower lighthouse approach and shoot from the cliff path instead.
Walking Time to Neist Point Lighthouse and What the Terrain Demands
Walking time to Neist Point lighthouse is roughly 20-30 minutes each way from the car park, but that figure hides the real effort. The path drops steeply, then climbs again on the return. Budget 45 minutes each way if you are carrying a tripod and camera bag. The terrain is a mix of concrete track and rough, uneven ground.
The Concrete Track and the Steep Descent
The first stretch follows a concrete track, which is easy going. Then it narrows and drops toward the lighthouse. Steps are steep and can be slippery when wet. A common mistake is wearing smooth-soled trainers. Grippy boots make the descent far safer and faster. The climb back is where most people lose time.
Best Time of Day for Neist Point Photography
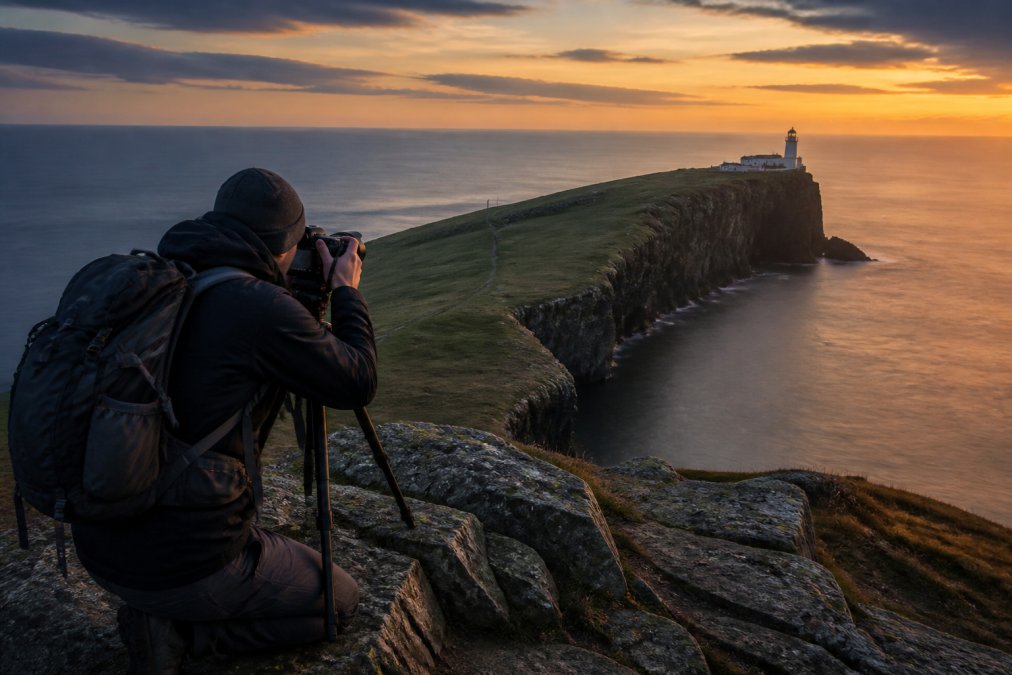
The best time of day for Neist Point photography is the two hours around sunset, when low light rakes across the cliffs and the lighthouse catches warm colour. Sunrise works too, but you will be walking in near-darkness to get there. Midday light is flat and harsh, and it flattens the coastal scenery. Plan your visit around golden hour and stay for blue hour.
Golden Hour, Blue Hour and Seasonal Light Shifts
Golden hour gives you warm, directional light and long shadows across the cliffside. Blue hour, the 20-30 minutes after sunset, softens the sky and lets you shoot long exposures of the lighthouse beam. Seasonal light varies a lot here. In summer, sunset can fall close to 22:00, so a late finish is normal. In winter, it can be before 16:00, which catches visitors out.
Neist Point Lighthouse Photography Tips: Gear, Composition and Camera Settings
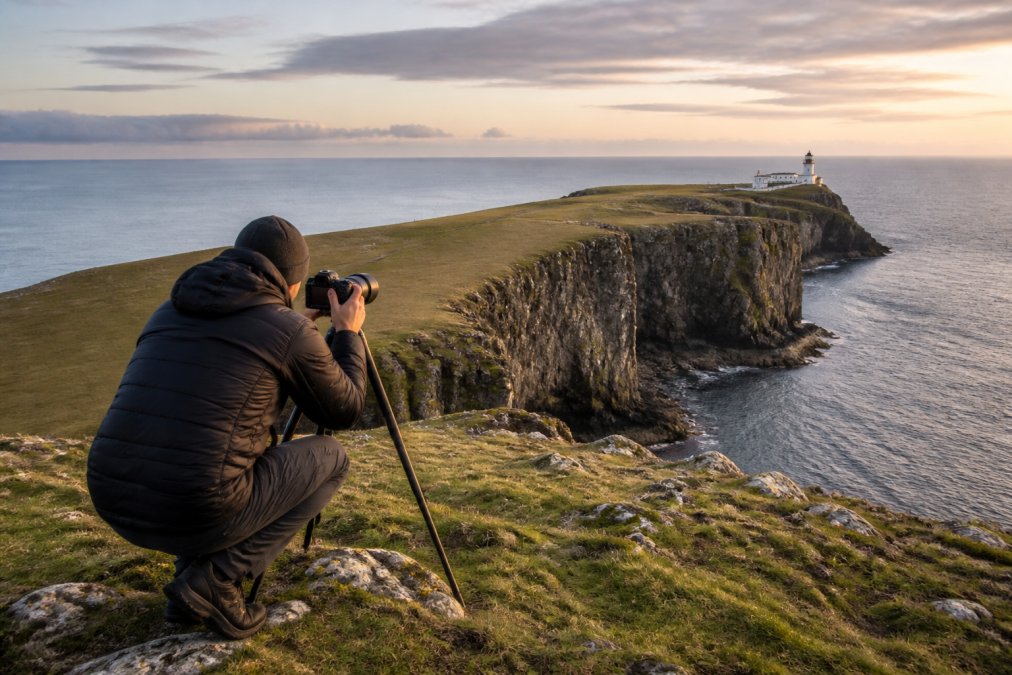
Neist Point lighthouse photography tips start with one rule: bring a sturdy tripod. Coastal wind is relentless, and tripod stability decides whether your long exposure is sharp or useless. A wide-angle lens handles the cliffside and sea views. A telephoto lens lets you isolate the lighthouse against the sky. Pack both if you can carry them.
Composition Spots Most Visitors Walk Past
Most visitors shoot from the first viewpoint and leave. The better frames sit further along. Here are the vantage points that consistently produce strong images, with the focal lengths that suit each:
- The first clifftop viewpoint (near the end of the concrete track): A 16-35mm lens on full frame works well here. Frame the path as a leading line curving down toward the lighthouse, with the sea cliffs on the right. This is the classic wide shot, but it only sings when the light is low and raking.
- The grassy shoulder just past the first viewpoint: A 24-70mm lens lets you compress the lighthouse against the cliff face while keeping some context. Look for a jagged rock or a patch of thrift as foreground interest. Low angles work well here because they make the cliffs feel taller.
- The lower path near the lighthouse: A 70-200mm lens isolates the white tower against the dark sea or sky. This is where you get the clean, graphic shot that most visitors never attempt because they turn back at the first viewpoint.
- The rocks below the lighthouse (tide-dependent): A 14-24mm lens gives you a dramatic low-angle view looking up at the tower, with wet rock providing reflections. Only attempt this when the tide is out and the wind is manageable.
For camera settings, start with these:
- Aperture: f/8 to f/11 for sharpness across the scene
- Shutter speed: 1/125s handheld, or 2-30 seconds on a tripod for long exposure
- ISO: 100 in good light, up to 800 as the light fades
- Focus: manual, set to infinity for the lighthouse, closer for foreground
Seasonal Light Variations: What Changes Through the Year
Parking, Safety and Weather: What to Sort Before You Go
Parking capacity at Neist Point is limited, and it fills quickly in peak season. Arrive early, especially if you want a sunset slot. The single-track access road has passing places, so allow extra time. For weather conditions, check the forecast the morning of your visit and again before you set off.
| What to Check | Why It Matters | When to Check |
|---|---|---|
| Sunset and blue hour times | Sets your whole schedule | Day before |
| Wind speed forecast | Decides if the cliff edge is safe | Morning of visit |
| Tide times | Affects lower rock access | Morning of visit |
| Parking availability | Fills fast in peak season | Before you leave |
Post-Processing and Editing for Coastal Light
Editing coastal light is about restraint. The dynamic range here is huge: bright sky, dark cliffs, and a white lighthouse that blows out easily. Shoot in RAW so you have room to recover highlights and lift shadows. In editing, pull the highlights down first, then open up the shadows on the cliffs.
A Concrete Workflow for Neist Point's Dynamic Range
Most editing advice for coastal scenes is generic. Neist Point has a specific problem: the lighthouse is a small, bright white subject against a sky that is often several stops brighter than the cliffs. A graduated filter alone will not fix it. Here is a workflow that works:
- Start with the RAW file and set the white balance. The sea and sky here can push blue easily, so warm the image slightly if needed, but avoid overcorrecting.
- Pull the highlights down aggressively. The lighthouse and sky will clip first. Use the highlight slider to bring back detail in the white tower and any cloud structure.
- Lift the shadows on the cliffs. The dark rock faces will be underexposed. Raise shadows carefully to avoid noise, and use a mask if your software supports it to target only the cliffs.
- Apply a graduated filter to the sky. Darken the sky by around half a stop to a full stop, but keep the horizon line soft so it does not look artificial.
- Use a radial filter or brush on the lighthouse. Brighten the tower slightly and add a touch of clarity to make it stand out, but do not overdo it or it will look like a cut-out.
- Warm the highlights slightly to keep the golden hour feel, and cool the shadows so the sea stays believable.
- Sharpen the lighthouse last, not the whole frame. Selective sharpening avoids accentuating noise in the sky or sea.
Common Mistakes and How to Avoid Them
- Over-saturating the blues. It is the most common edit mistake with coastal scenery, and it makes the sea look artificial. Keep saturation modest and check the image on a calibrated screen if possible.
- Over-lifting shadows. The cliffs can become muddy and noisy if you push shadows too far. A little underexposure in the shadows is often more realistic.
- Ignoring the lighthouse beam. If you shot a long exposure at blue hour, the beam may be visible. Do not brighten it too much; a subtle glow is more convincing than a bright streak.
- Forgetting to check the horizon. Coastal horizons can look tilted after editing. Use the straighten tool and check against the sea line.
Frequently Asked Questions
How long does it take to walk down to Neist Point lighthouse?
The walk from the car park to the lighthouse takes roughly 20 to 30 minutes each way. The route follows a concrete track before turning into a steep descent with steps. Photographers should add extra time for stopping at viewpoints along the way. Budget 45 to 60 minutes for the round trip alone, then add your shooting time on top for a realistic Neist Point photography schedule.
Is Neist Point lighthouse worth the hike for photographers?
It is one of the most photographed locations on the Isle of Skye, and the walk is the price of entry. The cliffside setting, dramatic sea stacks and open Atlantic views give you foreground interest, depth and scale in a single frame. The hike is steep but short, so most photographers find the effort well matched to the results, particularly at sunset when the light hits the cliffs.
Do I need a tripod for photography at Neist Point?
A tripod is essential if you want long exposure shots of the sea or clean images during blue hour. Wind speeds on the cliffside can be high, so choose a tripod with a hook for hanging your bag as ballast, and keep the legs low. If you are only shooting handheld at golden hour, a tripod is optional, but for serious Neist Point photography it is the one piece of kit most photographers would not leave behind.
What camera gear is essential for shooting Neist Point?
A wide-angle lens (16-35mm full frame equivalent) handles the cliffs and lighthouse together, while a telephoto lens (70-200mm) compresses the sea stacks and isolates details. Bring a polarising filter to control glare off the water, a rain cover for sudden weather changes, and sturdy footwear for the steep descent. A remote shutter release helps with long exposures when wind makes pressing the shutter risky.
Planning the light is only half the job. The other half is having a calm, comfortable base to return to after a long, windy evening on the cliffs. At Skye Lodge, our handmade beds, ensuite rooms and freshly prepared breakfasts give you the rest you need between shoots. We are minutes from Neist Point, and owners Claire and Douglas are always on hand with local knowledge on tides, weather and the best spots. Get started with Skye Lodge and make every photography day on the island count.