 How-to
How can beginners photograph the Isle of Skye?
Last Updated: October 26, 2026
Quick Summary
Isle of Skye photography draws beginners worldwide thanks to dramatic landscapes, moody weather, and light that changes hourly, you don't need expensive gear or years of experience because the scenery does half the job. Master three core settings (aperture f/8 to f/16, shutter speed 1/125th, ISO 100 on bright days), plan locations before you leave, and stay near Dunvegan where accommodation and photography spots are within easy reach.
- Use aperture f/8 to f/16 to keep foreground and background sharp in landscape shots
- Arrive 90 minutes before sunrise to find parking, walk to your location, and set up before light breaks
- Mist is a creative tool that softens harsh light and adds drama to ordinary scenes
- A tripod is essential for sharp images in low light or with slow shutter speeds
- Single-track roads are standard on Skye, identify locations before you leave and plan stops to avoid rushing
Table of Contents
- Why the Isle of Skye is a photographer's destination for all abilities
- Landscape photography camera settings for beginners
- Best time for photography on Skye
- Photography equipment for landscape beginners
- Photography locations near Dunvegan
- Planning your Isle of Skye photography trip
- Booking your photography base at Skye Lodge
- Frequently Asked Questions
Why the Isle of Skye is a photographer's destination for all abilities
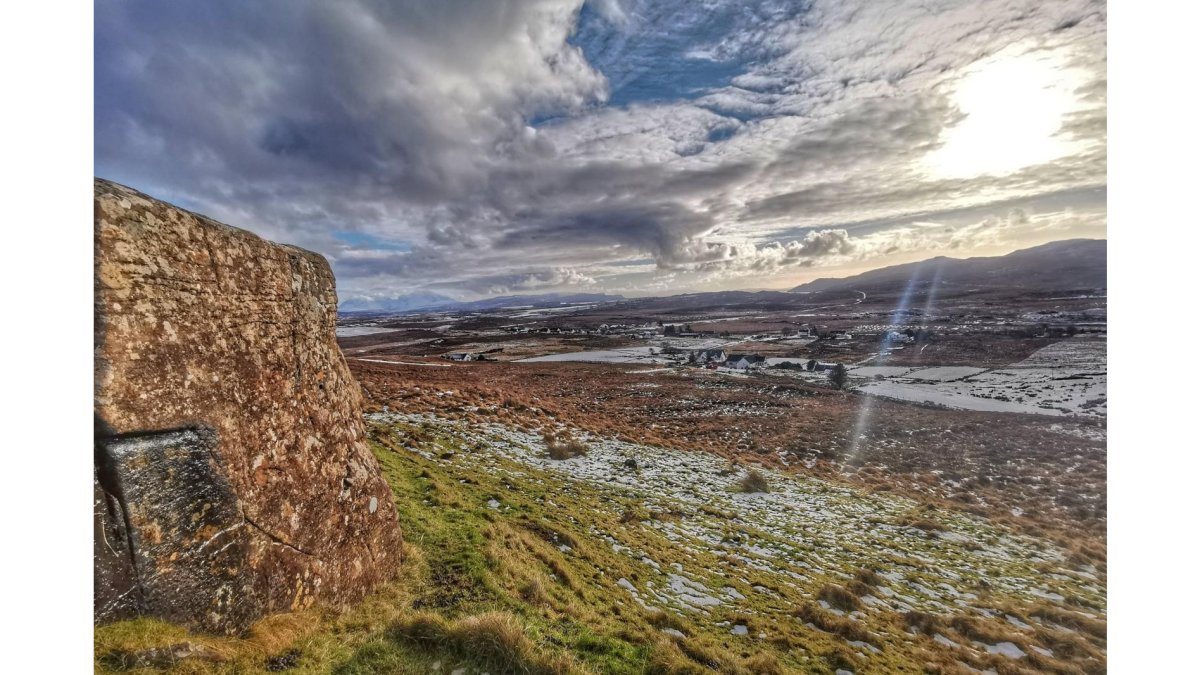
Isle of Skye photography draws people from around the world thanks to dramatic landscapes, moody weather, and light that changes by the hour. You don't need expensive gear or years of experience, beginners often produce their best work here because the scenery does half the job.
Every season and time of day reveals something different, mist transforms a familiar ridge, golden light breaks through clouds and hits a loch at exactly the right moment.
The landscape rewards patience, curiosity, and adaptability, that's what makes Isle of Skye photography so accessible.
Landscape photography camera settings for beginners
Three core settings control everything: aperture, shutter speed, and ISO. Master these, and you'll handle whatever the island throws at you.
Aperture, shutter speed, and ISO explained
Aperture controls how wide your lens opens.
For landscape photography, use f/8 to f/16. This keeps foreground and background both in focus, essential when you're shooting mountains, lochs, and valleys where every layer matters.
Shutter speed determines how long light hits your sensor. Fast speeds (1/1000th) freeze movement; slow speeds (multiple seconds) blur motion.
ISO is your sensor's light sensitivity. Low ISO (100-400) produces clean images but needs good light; high ISO (1600+) works in dim conditions but adds grain.
A practical starting point: f/11, shutter speed 1/125th of a second, ISO 100 on a bright morning. Adjust from there based on what your camera's meter tells you.
Common beginner mistakes with exposure
The most common error is trusting automatic settings completely.
If your sky looks blown out, dial down exposure compensation by one or two stops, your mountains darken slightly, but you recover detail in the sky.
Another mistake is shooting into strong backlight without compensation. When the sun sits behind your subject, the camera underexposes the foreground, use exposure compensation to brighten it, or spot meter off the main subject.
Many beginners avoid manual mode, thinking it's complicated. It's simpler than it sounds: set aperture to f/11, shutter speed to 1/125th, ISO to 100, and take a test shot. Too dark?
| Camera Setting | Landscape Use | Why It Matters |
|---|---|---|
| Aperture f/8-f/16 | Keeps foreground and background sharp | Everything in your frame stays in focus |
| Shutter speed 1/60-2 seconds | Balances blur and freeze depending on light | Slow speeds capture movement; fast speeds freeze it |
| ISO 100-400 (bright day) | Keeps grain minimal while exposing correctly | Low ISO = clean images on sunny days |
| ISO 1600+ (dim light) | Allows faster shutter speeds in poor light | Necessary when light is scarce |
Best time for photography on Skye
Timing shapes everything in landscape photography. Knowing when to shoot, and when to wait, separates mediocre images from memorable ones.
Seasonal light and weather patterns
Spring (March to May) brings longer daylight, unpredictable weather, fewer tourists, and fresher greens on the hillsides.
Summer (June to August) delivers the most consistent light, with days stretching past 10 p.m.
Autumn (September to November) produces dramatic skies and moody light as the landscape shifts from green to gold. Weather is volatile, perfect for atmospheric shots, and fewer visitors mean easier access to prime spots.
Winter (December to February) offers the rarest light, with low sun angles creating long shadows and rich colour. Days are short and conditions unpredictable, but those who venture out often capture their best work.
Making the most of mist and changing light
Mist is a creative tool, not your enemy. It softens harsh light, adds drama, and simplifies cluttered scenes, a misty morning can produce more interesting images than a crystal-clear afternoon.
Shoot mist early, before it burns off, and use a narrow aperture (f/16) to keep edges sharp. Mist diffuses light evenly, so exposure is straightforward.
Golden hour, the first and last hours of sunlight, transforms ordinary landscapes, light turns warm, shadows lengthen, and texture becomes visible. Be in position 30 minutes before sunset or sunrise.
Changing light happens fast here. Rather than chasing the "perfect" moment, shoot continuously as light shifts, transitional moments are often more interesting than the shot you were waiting for.
Photography equipment for landscape beginners
You don't need thousands of pounds of gear to photograph well. Most beginners buy too much too soon. Start simple, learn what you have, then add gear when you understand what you actually need.
What you'll need before you go
A camera, any camera, is the starting point. A smartphone works; a basic DSLR or mirrorless is better.
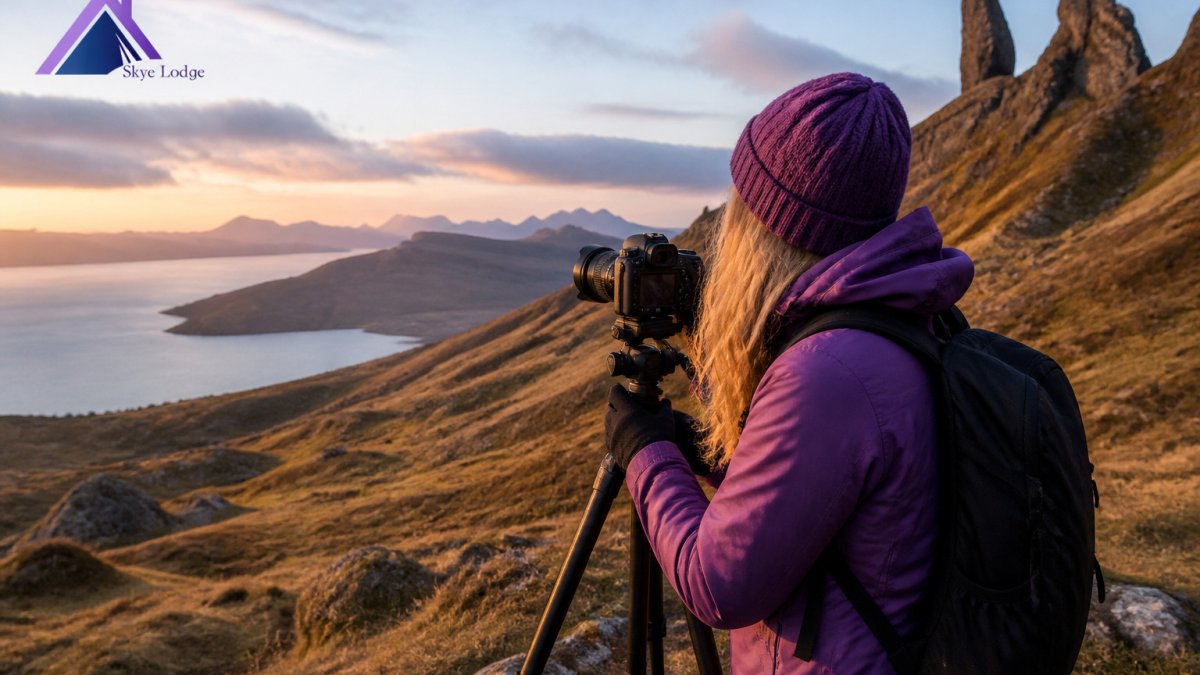
A tripod is essential for sharp images in low light or with slow shutter speeds. A sturdy one works fine, avoid flimsy travel models that frustrate on uneven ground.
A standard zoom lens (18-55mm or 24-70mm) covers most situations. One versatile lens teaches you more than five specialist ones.
A neutral density filter is optional but useful for slow shutter speeds in bright light, capturing moving water or clouds with motion blur.
A camera bag protects your gear and keeps things organized, any weatherproof bag works.
Protecting your camera from rain and sea spray
Skye is wet, rain, mist, and sea spray are constant hazards, and salt water corrodes electronics.
Always carry a rain cover or waterproof bag, a simple shower cap works in a pinch.
Wipe your lens regularly with a microfibre cloth, never your shirt. Salt spray and mist leave residue that degrades image quality, so clean it every hour near the coast.
Store your camera in a dry bag when you're not shooting, even brief exposure to salt spray adds up.
If you get caught in heavy rain or sea spray, wipe everything down once sheltered and let the camera dry completely before turning it on. Prevention is easier than repair.
Photography locations near Dunvegan
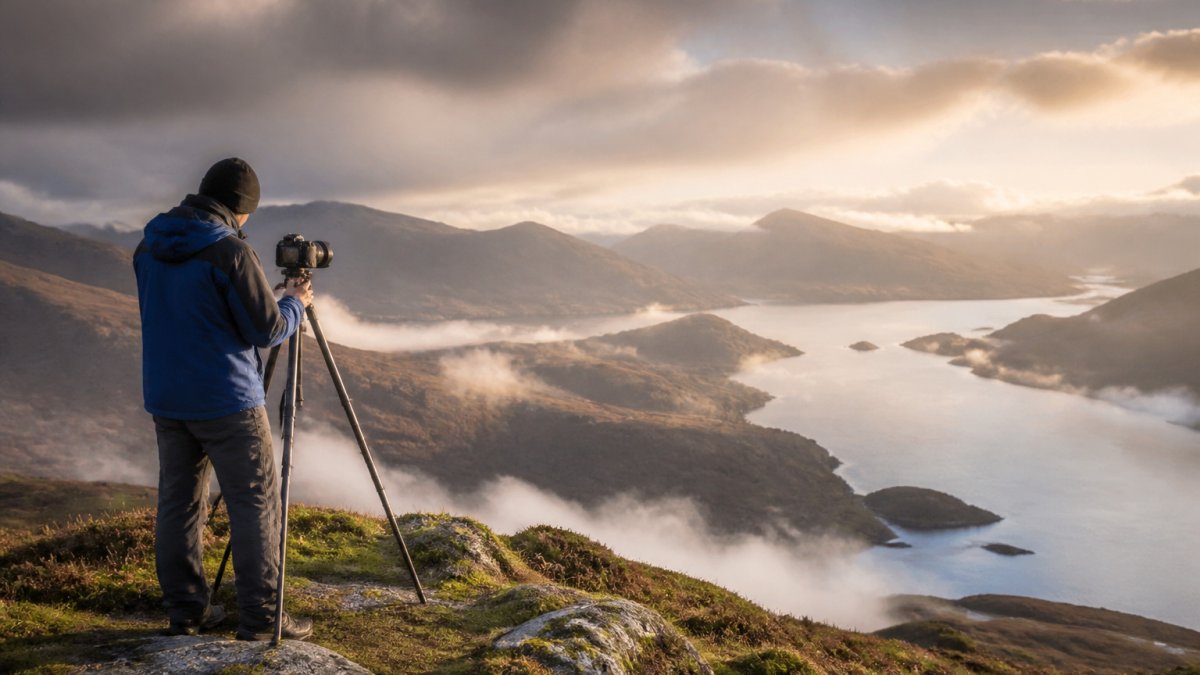
Dunvegan sits on the northwest coast, surrounded by some of Skye's most photogenic landscapes, from iconic viewpoints to quieter alternatives that deliver equally stunning images. Discover the specific scenic photography spots mentioned in this guide to plan your shooting locations.
Iconic viewpoints and accessible alternatives
Neist Point Lighthouse is the most photographed spot on the island, sitting on a dramatic cliff with extraordinary light at sunrise and sunset.
Dunvegan Castle dominates the landscape, sitting on a rocky outcrop with the loch stretching behind.
Trotternish Ridge offers sweeping views across the north coast. The drive is scenic, but the real photography happens on foot, walk any section for dramatic backdrops.
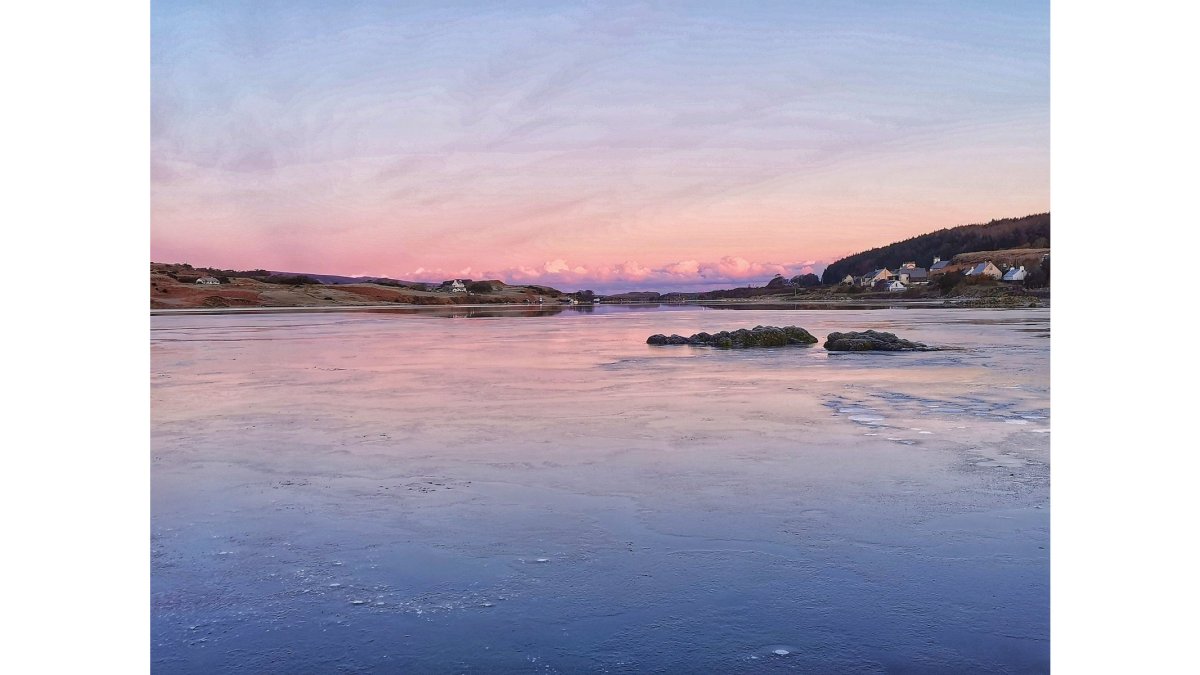
Loch Dunvegan provides intimate shots, reflecting mountains and sky on calm days.
Vaternish Point, north of Dunvegan, is less visited, dramatic cliffs, excellent light, and you'll rarely encounter other photographers. It's worth the detour.
Composition tips at each location
At Neist Point, include the lighthouse and surrounding cliffs.
At Dunvegan Castle, the castle is your anchor. Compose with it as a strong focal point but include context, the loch, surrounding hills, or sky, and avoid dead centre.
For ridge shots, use foreground elements, a rock, a person, or a distinctive plant adds scale. Wide angles emphasize the vastness of the landscape; position the horizon in the lower third of the frame.
At lochs, reflections are your strongest tool.
At less-visited spots like Vaternish Point, take time to explore. Walk the area, look for unique angles, and shoot from multiple positions. The best composition often isn't obvious from the car park.
Planning your Isle of Skye photography trip
A successful photography trip requires planning routes, managing time, and accounting for the island's unique driving conditions.
Timing your stops and managing single-track roads
Single-track roads are standard on Skye, narrow, often without verges, and shared with oncoming traffic.
Identify your locations before you leave, don't drive aimlessly looking for viewpoints.
Sunrise and sunset are peak photography times but also when you're most pressed for time.
Midday light is harsh, but don't waste it, use those hours to scout new locations, have lunch, or shoot in shaded areas.
Weather changes fast. Learn about routes, travel tips, and trip planning for navigating to photography locations on Skye. If mist is heavy in the morning, wait an hour, it often clears.
Travel to Isle of Skye: Routes, Tips & Trip Planning covers driving routes and travel logistics in detail.
Refuelling and dining options near photography spots
You'll spend long hours outdoors, so pack water and snacks, options are limited at remote locations.
For lunch and proper meals, Dunvegan has several options. Find dining and refuelling options near photography spots. The Stein Inn and Edinbane Lodge are dining options to consider. Plan ahead and book your restaurant in advance. Restaurants in Dunvegan & Skye Dining Experience Spots lists dining options near photography spots.
Plan your day so you're back at your accommodation by early evening, time to review images, charge batteries, and plan tomorrow's shoot.
Booking your photography base at Skye Lodge
Where you stay shapes your photography trip.
Skye Lodge sits on the westerly coast near Dunvegan, within reach of photography locations.
The lodge offers handmade beds and ensuite rooms. Sleep matters, you'll be up before dawn and walking for hours.
Gourmet breakfasts with locally sourced ingredients fuel your days, and owners Claire and Douglas provide personalized hospitality.
Explore Dunvegan provides details about the area and what's available nearby.
For groups of friends or families, Skye Lodge can be booked for exclusive use.
Isle of Skye photography rewards patience, flexibility, and willingness to shoot in imperfect conditions.
Frequently Asked Questions
What camera settings should beginners use for landscape photography on Skye?
Start with aperture between f/8 and f/16 to keep the entire landscape sharp. Use a shutter speed of 1/125th of a second or faster to avoid camera shake, and set ISO as low as conditions allow, typically 100-400 in daylight. On overcast days, you may need to increase ISO or open the aperture slightly. A tripod helps you use slower shutter speeds without blur. Experiment with these starting points and adjust based on what your camera's light meter shows.
What is the best time of day to take landscape photos on Skye?
The hour after sunrise and the hour before sunset produce the softest, most flattering light for landscape photography. During these 'golden hours', the sun sits low and colours become warm and rich. Midday sun creates harsh shadows and flat colours, so many photographers avoid it. On Skye, overcast days can actually be excellent because clouds diffuse light evenly, eliminating shadows. Plan to arrive at your chosen location 30-45 minutes before your target time to compose your shot.
What photography equipment should a beginner take to Skye?
A camera (DSLR, mirrorless, or even a smartphone), a sturdy tripod, and a protective case are essentials. If you have interchangeable lenses, bring a wide-angle lens (16-35 mm) for sweeping landscapes and a standard zoom (24-70 mm) for flexibility. Add lens cleaning cloths, spare batteries, and a waterproof bag, rain and sea spray are common. Neutral density filters help in bright conditions, but they're optional for beginners. A simple remote shutter release or your camera's self-timer prevents shake when you press the button.
How do you protect a camera from rain and sea spray on Skye?
Use a waterproof camera bag or rucksack to store equipment when not shooting. When photographing, keep a lens cloth handy to wipe salt spray and moisture from your lens between shots. Consider a rain sleeve or weather cover for your camera body during active rain. Avoid changing lenses in wet conditions if possible, moisture can enter the camera. After a day near the coast, gently wipe your camera with a dry cloth and store it in a dry place. Never leave equipment in a damp car overnight.